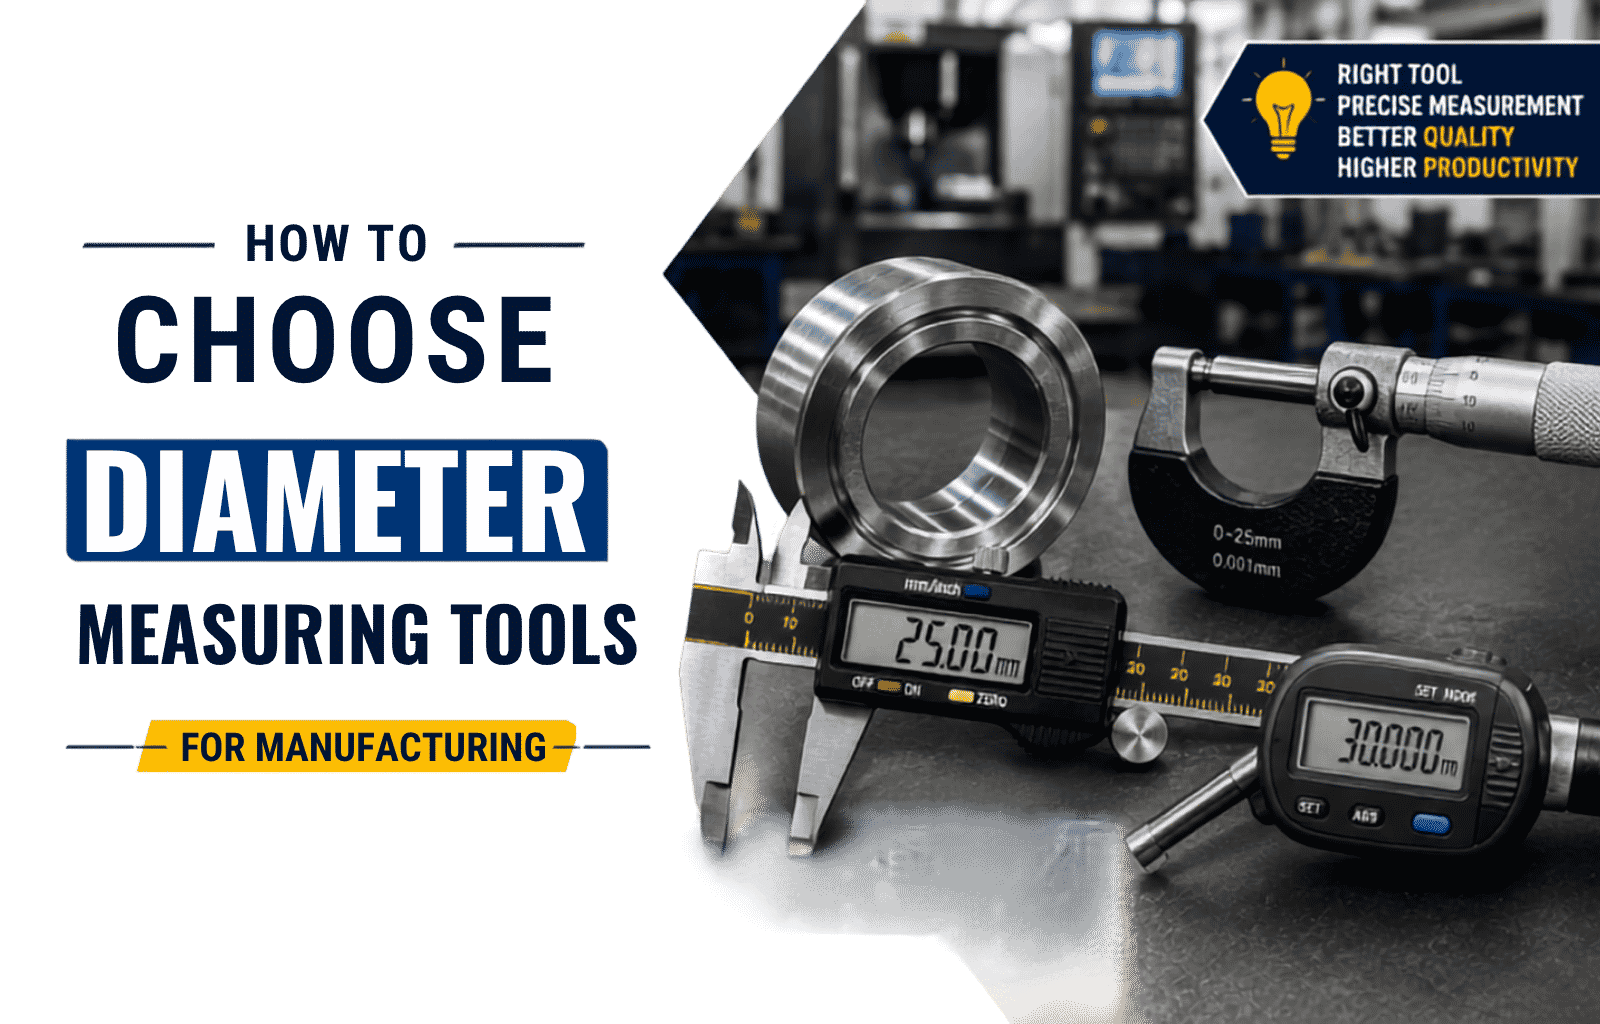
The right diameter measuring tool depends on three things: the precision you need, the part you are measuring, and how many parts you check each day. Micrometers and calipers suit small batches. Bore gauges handle internal diameters. Optical comparators, laser systems, and CMMs work best for high volumes and tight tolerances.
In high-precision manufacturing, a fraction of a millimetre can decide whether a part passes or fails. A shaft that is too wide won't fit. A bore that is too narrow will jam. When thousands of parts move through a line each day, one wrong measurement can lead to scrap, rework, and unhappy customers.
That is why picking the correct diameter measuring tool matters so much. The right tool keeps your parts within tolerance, speeds up quality checks, and helps you meet strict standards. The wrong tool wastes money and time.
Featured Products
This guide breaks down the main types of diameter measuring tools, the factors that should guide your choice, and the mistakes to avoid. By the end, you'll know exactly how to match a tool to your work.
Why does choosing the right measuring tool matter?
Every manufactured part has a target size and an allowed range around it, called a tolerance. Your job is to check that each part stays inside that range. A good measuring tool makes this simple. A poor one gives you readings you can't trust.
Manufacturers often struggle with this choice for a few reasons. Some tools are very accurate but slow. Others are fast but less precise. Some cost very little upfront, but they wear out quickly or need constant recalibration. Balancing these trade-offs is the real challenge.
Getting it right brings clear rewards:
- Better quality: Accurate tools catch defects before parts leave the floor.
- Higher efficiency: The right tool speeds up inspection and cuts downtime.
- Easier compliance: Certified tools help you meet ISO and customer requirements.
Now let's look at the tools themselves.
What are the main types of diameter measuring tools?
There is no single "best" tool. Each type has a sweet spot. Here are the six you'll meet most often.
Micrometers: for tight tolerances on small parts
A micrometer is one of the most accurate hand tools you can own. Most models measure down to 0.01 mm, and some digital versions go even finer. They are perfect for checking the outside diameter of shafts, pins, and bearings.
Micrometers come in outside, inside, and depth types. The outside micrometer is the go-to choice for external diameters. The trade-off is range. Each micrometer covers a fixed span, such as 0 to 25 mm, so you may need several to cover different part sizes.
Choose a micrometer when accuracy matters more than speed, and when your parts fall within a known size band. You can explore a full range of options through the micrometers collection at DK Tooling.
Calipers: flexible and easy to use
Calipers are the workhorses of many workshops. They measure outside diameters, inside diameters, and depth, all with one tool. This flexibility makes them a favourite for quick checks.
You'll find two main kinds:
- Analogue (vernier or dial) calipers are reliable, need no batteries, and cost less.
- Digital calipers show a clear number on a screen, reduce reading errors, and often connect to data systems.
Calipers usually offer accuracy around 0.02 mm to 0.03 mm. That is fine for many jobs, but not as tight as a micrometer. Reach for calipers when you need versatility and speed on parts with medium tolerances.
Bore gauges: built for internal diameters
Measuring the inside of a hole is harder than measuring the outside. Bore gauges solve this problem. They are designed to read internal diameters with high accuracy, which is vital for cylinders, engine bores, and bushings.
Dial bore gauges and telescopic gauges are common choices. They can reach deep into holes where a caliper simply won't fit well. For consistent internal readings, a dedicated bore gauge beats a general tool every time.
If internal diameters are central to your work, browse the inner diameter measuring instruments at DK Tooling to find the right fit.
Optical comparators: measuring without touching
An optical comparator projects a magnified shadow of your part onto a screen. You then compare that shadow against a reference outline. This lets you check diameters and profiles without touching the part.
The big advantage is that soft or delicate parts stay unharmed. Optical comparators also handle complex shapes well. The downsides are size, cost, and the skill needed to operate them. They suit inspection rooms more than the shop floor.
Laser measurement systems: fast and contactless
Laser systems measure diameter by scanning a part with a beam of light. They are quick, accurate, and never touch the surface. This makes them ideal for hot parts, moving parts, or very soft materials.
Many laser systems can measure hundreds of parts per minute, which is a huge win for high-volume lines. The main hurdle is price. These systems cost more than hand tools, so they pay off best when speed and volume are high.
Coordinate measuring machines (CMMs): the all-rounder
A CMM is a powerful machine that measures many features of a part in three dimensions, including diameters. It uses a probe that touches set points, then calculates exact sizes and positions.
CMMs are highly accurate and can be automated. One machine can inspect a whole part, not just one diameter. The catch is cost and complexity. They need a stable environment, trained staff, and a fair budget. Choose a CMM when you inspect complex parts and need full, repeatable data.
What factors should guide your choice?
With the tool types clear, use these factors to narrow your decision.
- Required precision: Match the tool's accuracy to your tolerance. If your tolerance is 0.01 mm, a caliper won't do; you need a micrometer or better.
- Part material and finish: Soft, hot, or fragile parts favour contactless tools like laser systems or optical comparators.
- Production volume: Low volumes suit hand tools. High volumes reward faster, automated systems.
- Budget: Look at the full cost, not just the sticker price. Factor in calibration, training, and upkeep.
- Ease of use: A simple tool means less training and fewer operator errors.
- Environment: Heat, dust, and vibration affect readings. Some tools handle rough conditions better than others.
- System integration: If you log data digitally, pick tools that connect to your existing software.
A common rule of thumb is the "10-to-1" gauge rule: your tool should be about ten times more precise than the tolerance you are checking. This keeps measurement error small compared with the allowed range.
Which standards and compliance rules apply?
Precision manufacturing runs on standards. They keep measurements consistent across teams, suppliers, and countries.
- ISO 286 sets limits and fits for linear sizes, which is key for diameters and bores.
- ISO 2768 covers general tolerances when a drawing does not state one.
- GD&T (Geometric Dimensioning and Tolerancing) defines how features relate to each other, not just their size.
Beyond these, two habits protect your quality:
- Traceability: Keep records that link your tools to a national or international standard.
- Calibration: Check and adjust your tools on a set schedule so they stay accurate over time.
Certified, well-documented tools make audits smoother and build trust with customers.
What mistakes should you avoid?
Even skilled teams slip up. Watch out for these common errors.
- Buying on price alone. A cheap tool that misses defects costs far more in scrap and returns.
- Ignoring temperature. Metal expands when warm. A part measured hot will read differently once it cools, so control your workspace.
- Skipping operator training. The best tool gives bad data in untrained hands.
- Neglecting calibration. Tools drift over time. Without regular checks, your readings slowly go wrong.
- Forgetting future needs. Pick tools that can grow with your production, not just today's batch.
What are the best practices for tool selection?
Follow these steps to get the most from your investment.
- Audit your needs first. List every diameter you measure, along with its tolerance and volume. This map guides every other choice.
- Buy quality that fits. Match the tool's precision to the job. Do not overspend on accuracy you'll never use, and never underspend on parts that demand it.
- Build a calibration plan. Set clear intervals for checking each tool, and keep records.
- Train your team. Give operators clear guides and hands-on practice. Good habits protect good data.
- Review often. As products change, revisit your measurement methods and update them.
For a wider look at building a reliable measurement setup, DK Tooling's guide on selecting industrial engineering supplies that improve quality and efficiency is a helpful next read.
Making the right choice for your workshop
There is no shortcut to perfect measurement, but there is a clear path. Start with your tolerances. Weigh your volume, your parts, and your budget. Then match those needs to the right tool, whether that is a simple caliper, a precise micrometer, a dedicated bore gauge, or an advanced CMM.
Quality tools are not an expense; they are an investment. They cut waste, speed up inspection, and keep your customers coming back. Take the time to choose well, and your production line will thank you for it.
If you are ready to upgrade your measurement kit, explore DK Tooling's range of precision instruments and find the tools that suit your work.
Frequently asked questions
What is the most accurate tool for measuring diameter?
For everyday shop use, a micrometer is the most accurate hand tool, reading down to 0.01 mm or finer. For the highest accuracy on complex parts, a coordinate measuring machine (CMM) or laser measurement system gives even more precise, repeatable results.
What is the difference between a caliper and a micrometer?
A caliper is flexible and measures outside diameter, inside diameter, and depth, usually to about 0.02 mm. A micrometer measures only within a fixed range but offers tighter accuracy, down to 0.01 mm. Use a caliper for speed and a micrometer for precision.
How do I measure the inside diameter of a hole?
Use a bore gauge. Dial bore gauges and telescopic gauges are built to read internal diameters accurately, even deep inside a part. A caliper can give a rough inside reading, but a dedicated bore gauge is far more reliable.
How often should measuring tools be calibrated?
It depends on use and the tool type, but a regular, documented schedule is essential. Many manufacturers calibrate high-use precision tools every few months, and always after any drop or damage. Follow your quality system and the tool maker's advice.
How much precision do I actually need?
A good rule is the 10-to-1 gauge rule: your tool should be roughly ten times more precise than the tolerance you check. So for a 0.1 mm tolerance, aim for a tool accurate to about 0.01 mm.
Which diameter measuring tool is best for high-volume production?
For high volumes, laser measurement systems and automated CMMs work best. They measure quickly, need little manual effort, and log data automatically. Hand tools like calipers and micrometers are better suited to smaller batches.