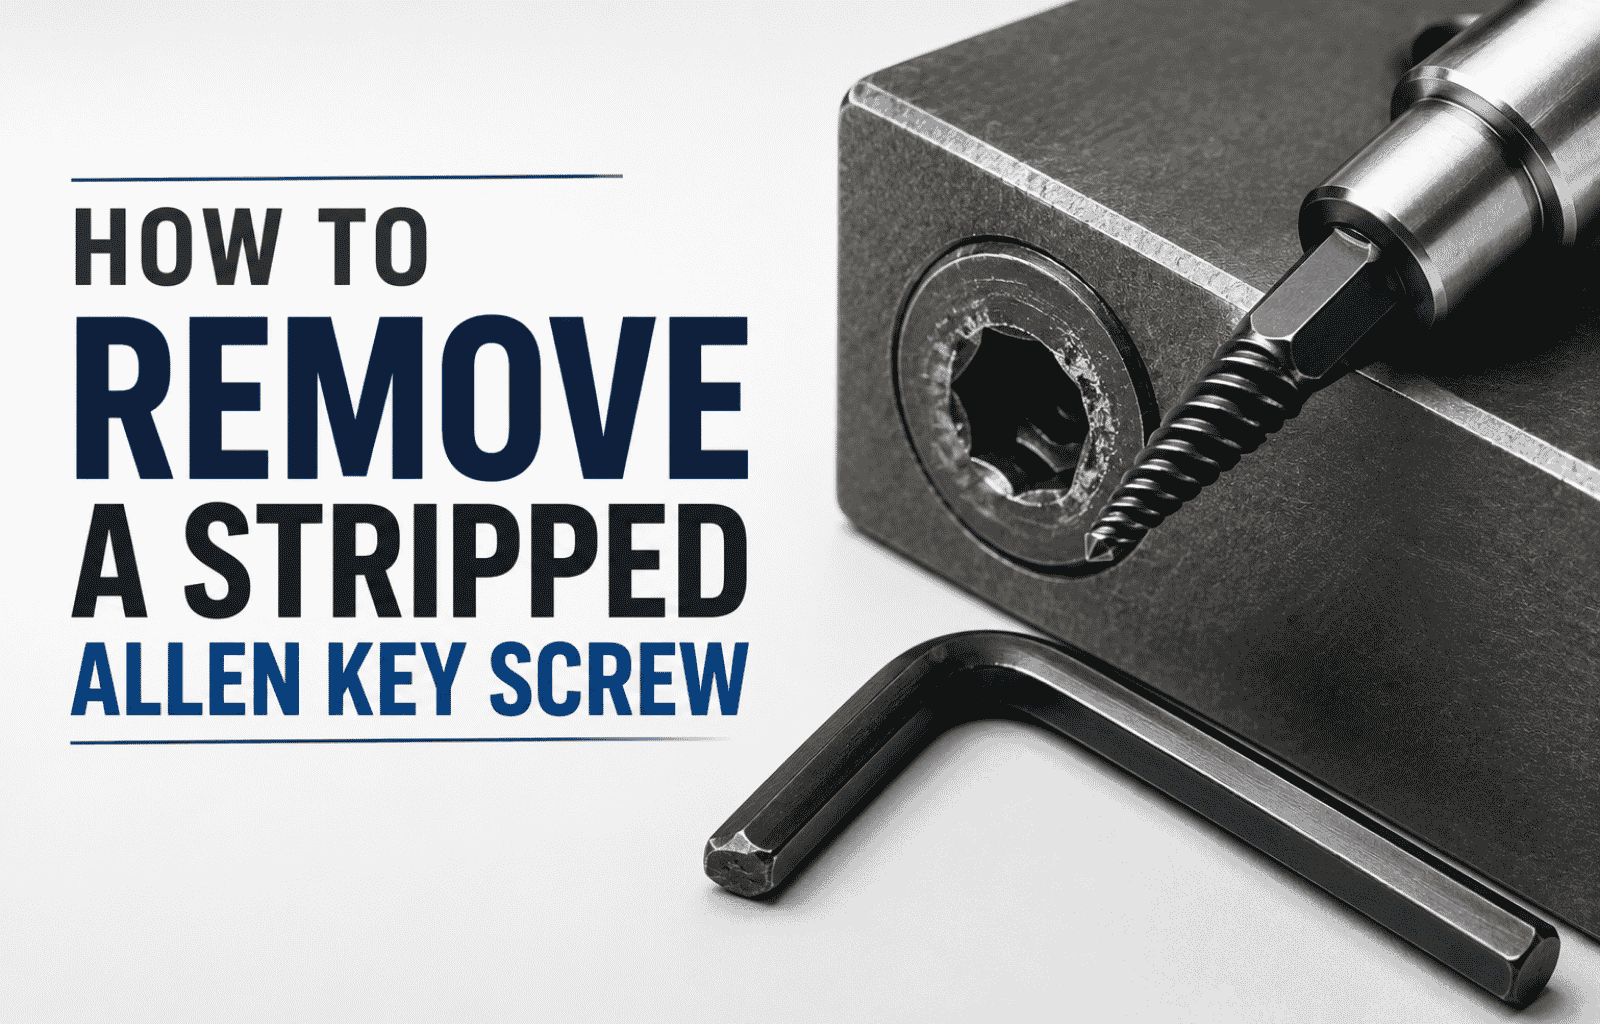
In high‑mix, low‑volume CNC shops and large‑scale fabrication lines alike, a single stripped Allen key screw can cause unplanned downtime, lost labor hours, and costly re‑work. At DK Tooling we have spent more than a decade refining extraction technique that minimize collateral damage while maximizing speed. This guide consolidates our field‑tested knowledge into a single, searchable resource for procurement officers, workshop managers, and senior engineers.
Why Allen Screws Strip – The Mechanics
Understanding the failure mode is the first step toward prevention and rapid remediation. Allen (hex socket) screws strip when:
- Excessive torque exceeds the shear strength of the socket walls.
- The hex key is undersized or worn, concentrating stress on a small contact area.
- Corrosion or carbon build‑up creates uneven load distribution.
- Repeated insertion cycles fatigue the socket geometry.
When the hex recess loses its defined geometry, conventional torque transfer is impossible, and the screw becomes a “grip‑less” fastener.
Featured Products

Safety First – Preparing the Work Area
Before any extraction attempt, adopt the following safety protocol:
- Personal Protective Equipment (PPE): safety glasses, cut‑resistant gloves, and hearing protection if using power tools.
- Secure the Workpiece: clamp the component to a stable bench or use a magnetic base to prevent movement.
- Ventilation: if cutting metal shavings, ensure adequate extraction to avoid inhalation hazards.
- Tool Inspection: verify that drill bits, extractors, and sockets are free of cracks or excessive wear.
Toolset Overview – What DK Tooling Recommends
Our engineers rely on a curated set of extraction tools that balance durability, precision, and cost‑effectiveness. Below is a quick‑reference table that you can embed directly into your procurement system.
| Tool | Material | Key Features | Typical Use‑Case |
|---|---|---|---|
| Screw Extractor Set (M4‑M12) | High‑Carbon Steel, TiN‑Coated | Reverse‑threaded, tapered shank, ergonomic handle | Standard stripped Allen screws in steel/aluminum |
| Left‑Handed Drill Bit Set (1 mm‑6 mm) | Cobalt‑Alloy | Self‑reversing action, high heat resistance | When the extractor cannot gain purchase |
| Precision Center Punch | Tool Steel | Sharp tip, 2 mm depth stop | Creating a pilot hole without wandering |
| Mini Rotary Hammer (Variable Speed) | Aluminum housing, brushless motor | Adjustable RPM, torque‑limiting clutch | Controlled drilling in thin‑walled parts |
| Impact Driver with Hex Adapter | Steel body, anti‑vibration grip | High impact energy, quick‑change collet | Final torque‑out after extraction |
Step‑by‑Step Extraction Methods
Depending on the severity of the strip and the material surrounding the screw, we recommend one of three primary techniques. Follow the sub‑steps in order; if a method fails, proceed to the next.
1. Method A – Screw Extractor (Preferred)
- Mark the Center: Use a fine‑point center punch to create a shallow indentation at the screw’s geometric centre. This prevents drill wander.
- Drill a Pilot Hole: Select a drill bit 0.5 mm smaller than the extractor’s core diameter (e.g., 2 mm for a M6 extractor). Drill at 500 RPM with light feed.
- Insert the Extractor: Tap the extractor gently with a hammer until its tapered tip seats firmly in the pilot.
- Apply Counter‑Clockwise Torque: Using a 6 mm hex wrench or the supplied handle, turn the extractor slowly. The reverse threads bite into the screw shank, pulling it out.
- Finish: Once the head lifts, switch to an impact driver with the appropriate Allen key to back the screw out completely.
Tip from our senior machinist: If the extractor slips, increase the pilot hole by 0.2 mm and retry – a snug fit is critical.
2. Method B – Left‑Handed Drill Bit (Self‑Extracting)
- Secure a left‑handed drill bit that matches the screw’s major diameter (e.g., 4 mm for a M5 screw).
- Set the drill to a low RPM (300–400) and engage the clutch at 30 % to avoid over‑penetration.
- Drill directly into the stripped socket. The reverse thread of the bit will tend to unscrew the fastener as it cuts.
- When the screw begins to turn, maintain steady pressure until it frees.
This method works best on softer alloys (aluminum, mild steel) where the bit can bite without shattering.
3. Method C – Slot‑Punch & Tap‑In
- Using a 2 mm flat‑head punch, create a shallow slot across the top of the stripped socket.
- Insert a flat‑head screwdriver or a small flat‑bladed tap and apply steady torque.
- Once the screw rotates a few degrees, switch to a larger Allen key and finish the removal.
Reserve this technique for low‑torque applications where the surrounding material can tolerate a surface scar.
Troubleshooting – When Extraction Fails
Even with the right tools, certain scenarios demand additional tactics:
- Heat‑Induced Expansion: Apply a controlled heat source (e.g., a 150 °C hot air gun) for 30 seconds to expand the surrounding metal, then retry extraction.
- Chemical Penetrants: A few drops of penetrating oil (e.g., WD‑40 Specialist Penetrant) can reduce friction in rusted assemblies.
- Thread‑Lock Residue: If thread‑locker was used, soak the area in a solvent (acetone or a commercial remover) for 5 minutes before extraction.
Procurement Checklist – Buying the Right Extraction Kit
Integrate the following checklist into your B2B purchase order to guarantee you receive a complete, industrial‑grade kit.
| Item | Specification | Quantity | DK Tooling SKU |
|---|---|---|---|
| Screw Extractor Set | M4‑M12, TiN‑Coated, 6‑piece | 1 | DK‑EX‑001 |
| Left‑Handed Drill Bits | 1 mm‑6 mm, cobalt alloy | 1 set (10 pcs) | DK‑LHB‑010 |
| Precision Center Punch | 2 mm tip, hardened steel | 2 | DK‑CP‑002 |
| Mini Rotary Hammer | Variable speed, 0‑1500 RPM, torque limit 2 Nm | 1 | DK‑RH‑005 |
| Impact Driver with Hex Adapter | 6 mm hex, 200 Nm impact | 1 | DK‑ID‑003 |
Maintenance & Lifecycle Management
To keep your extraction tools performing at peak efficiency, adopt the following routine:
- Inspect extractor flutes after every 20 uses – replace if wear exceeds 0.1 mm.
- Lubricate left‑handed bits with a light oil after cleaning to prevent corrosion.
- Calibrate the rotary hammer’s torque clutch quarterly using a calibrated torque meter.
- Store all tools in a dry, dust‑free cabinet with individual slots to avoid cross‑contamination.
Real‑World Case Study
Client: Mid‑size CNC machining centre (annual turnover $12 M).
Problem: Repeated stripping of M8 Allen screws on a high‑speed spindle housing caused an average of 3 hours of unplanned downtime per incident.
Solution: DK Tooling supplied a custom extraction kit (see table in Section 7) and conducted an on‑site training session. The workshop adopted Method A with a pilot‑hole protocol, reducing average extraction time from 45 minutes to 7 minutes and eliminating repeat incidents for six months.
Quick Reference – One‑Page Cheat Sheet
1️⃣ Verify PPE & secure workpiece.
2️⃣ Choose method based on material & screw size.
- A – Screw Extractor (preferred)
- B – Left‑Handed Drill Bit
- C – Slot‑Punch & Tap‑In
3️⃣ Drill pilot hole (0.5 mm smaller than extractor).
4️⃣ Insert extractor or bit, apply CCW torque.
5️⃣ If stuck → heat (150 °C) or penetrant.
6️⃣ Finish with impact driver & proper Allen key.
7️⃣ Log tool wear & replenish kit per checklist.
Where to Buy the Recommended Tools
All the items listed in the procurement table are stocked in our inventory. Visit DK Tooling’s homepage for product details or head straight to our shop to place an order. Our B2B sales team offers volume discounts, on‑site training, and after‑sales support.
Removing a stripped Allen key screw is less about brute force and more about applying the right physics‑based technique with the proper tooling. By following the systematic approach outlined above, you can restore production flow, protect component integrity, and extend the service life of your fastening hardware.
At DK Tooling we are committed to turning every screw‑related challenge into an opportunity for efficiency.
Frequently Asked Questions
Q: Can I use a regular drill bit instead of a left‑handed one?
A: A standard bit will cut forward, tightening the screw further. Only a left‑handed geometry provides the self‑extracting action needed for stripped sockets.
Q: What if the screw head is completely sheared off?
A: In that case, drill out the shaft to the minor diameter, then tap a thread‑restoring helicoil or use a bolt‑in nut.
Q: How often should I replace my extraction tools?
A: Follow the maintenance schedule in Section 8; typically, extractors last 150–200 cycles before re‑grinding is required.
Q: Are there any software tools to log extraction incidents?
A: Yes – our OEM partners integrate with CMMS platforms (e.g., SAP PM, Fiix) via API to capture tool usage and downtime metrics.